
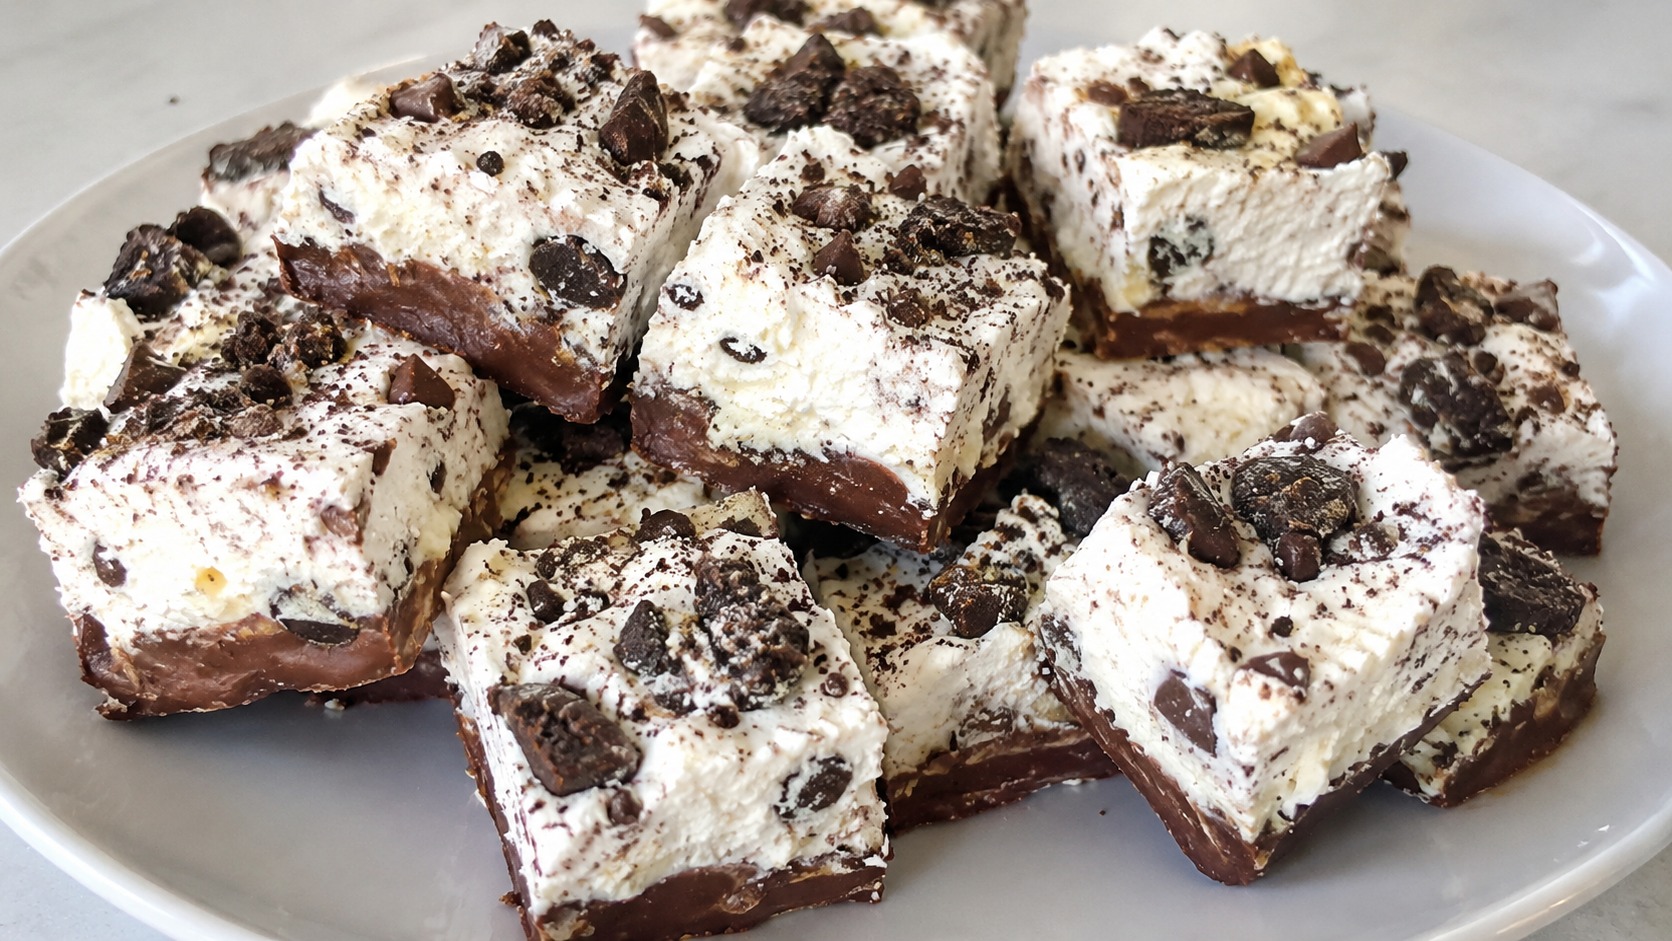
If you are searching for a dessert that takes minutes to prepare and requires almost no kitchen skill, the 3 ingredient cool whip candy recipe is exactly what you need. This simple no bake treat has been passed around family gatherings, potlucks, and school bake sales for years because it delivers a soft, chewy, melt in your mouth bite without any oven time. All you need is a tub of whipped topping, a box of instant pudding mix, and a coating ingredient like powdered sugar or crushed cookies. Within a short time in the fridge, you have a batch of candy that tastes far more complex than the effort it actually took.
This guide walks through everything you need to know: the ingredients, the step by step method, smart variations, storage tips, and answers to the most common questions people ask before trying it themselves.
Key Takeaways
- Only three core ingredients are needed: whipped topping, instant pudding mix, and a coating like powdered sugar, cocoa powder, or crushed graham crackers.
- No baking or candy thermometer is required, making this ideal for beginners and kids who want to help in the kitchen.
- Chilling time, usually two to four hours, is the most important step for getting a firm, rollable texture.
- The base recipe is easy to customize with different pudding flavors, mix ins, or coatings.
- Proper storage in an airtight container keeps the candy fresh for about a week in the refrigerator.
What You Need for This Simple Dessert
The beauty of this treat lies in how little it asks of you. Most people already have these items sitting in their kitchen, which is part of why the recipe has stayed popular for so long.
Whipped topping. A standard eight ounce tub of thawed whipped topping forms the creamy base of the candy. It gives the mixture its light, airy texture and helps bind everything together without needing eggs, butter, or gelatin.
Instant pudding mix. A small box of instant pudding, any flavor you like, thickens the whipped topping into a moldable dough once it is combined and chilled. Chocolate, cheesecake, banana cream, and pistachio are all popular choices depending on the flavor profile you are going for.
A coating ingredient. This is where you get to have some fun. Powdered sugar, unsweetened cocoa powder, crushed graham crackers, crushed cookies, or even shredded coconut all work well as an outer layer. The coating keeps the candy from sticking to your hands and adds a nice contrast in texture.
That’s it. Three ingredients, no mixer required beyond a spoon or spatula, and no special equipment.
Step by Step Instructions
Making this treat is refreshingly straightforward, and most of the work happens in the refrigerator rather than at the counter.
- Combine the base. In a medium bowl, fold the thawed whipped topping and the dry instant pudding mix together. Stir gently but thoroughly until no dry streaks remain and the mixture looks smooth and slightly thickened.
- Chill the mixture. Cover the bowl and place it in the refrigerator for about two hours. This step allows the pudding mix to fully set the whipped topping so it firms up enough to handle.
- Scoop and shape. Once chilled, use a small cookie scoop or a spoon to portion out the mixture into bite sized balls, roughly the size of a walnut. Roll each portion between your palms until smooth.
- Coat each piece. Roll the shaped balls in your chosen coating, whether that is powdered sugar, cocoa powder, or crushed cookies, until fully covered.
- Final chill. Place the coated candies on a parchment lined tray and return them to the refrigerator for another hour or two. This final rest firms them up completely so they hold their shape when served.
The entire process, minus chilling time, takes about fifteen minutes of hands on work. That short active time is a big part of why this dessert has become a favorite for anyone short on time but still craving something homemade.
Tips for Getting the Best Texture
A few small details make a noticeable difference in how the candy turns out. First, make sure your whipped topping is fully thawed but still cold. Room temperature topping tends to get too soft to hold its shape later on. Second, use the full chill time recommended in each step. Skipping the refrigeration stage is the most common reason people end up with a sticky, hard to handle mixture instead of a firm, rollable dough.
It also helps to keep your hands slightly damp or lightly dusted with powdered sugar while rolling the balls. This prevents the mixture from sticking to your skin and makes shaping much faster. If the mixture ever feels too soft to work with, simply pop it back in the freezer for ten minutes before continuing.
Flavor Variations to Try
One of the biggest reasons this treat has stayed so popular is how easy it is to change up. Because the pudding mix carries most of the flavor, switching it out instantly gives you a completely different dessert.
- Chocolate lovers version: Use chocolate instant pudding and roll the finished balls in cocoa powder or crushed chocolate cookies.
- Cheesecake style: Cheesecake flavored pudding paired with crushed graham crackers mimics the flavor of a classic cheesecake bite.
- Tropical twist: Coconut cream pudding rolled in shredded coconut brings a light, tropical flavor perfect for warm weather gatherings.
- Holiday themed: Peppermint extract mixed into a vanilla pudding base, then rolled in crushed candy canes, makes a festive winter treat.
- Fruity option: Banana or strawberry pudding mixes bring a lighter, fruit forward flavor that pairs nicely with a light dusting of powdered sugar.
Mix ins are another easy way to customize the recipe. Mini chocolate chips, chopped nuts, or crushed pretzels folded into the base before chilling add extra texture and a bit of crunch.
Why This Cool Whip Candy Recipe Works So Well
Part of what makes this dessert so reliable is the chemistry behind the two main ingredients. Instant pudding mix contains starches that activate the moment they touch a liquid, which in this case is the moisture already present in the whipped topping. As the starches absorb that moisture, the once loose whipped topping firms into a dough like consistency strong enough to roll and hold its shape. There is no need for gelatin, eggs, or heat because the pudding mix is doing all of the structural work on its own.
This is also why the recipe is so forgiving for beginners. There is very little room for error since there is no boiling sugar to monitor, no risk of burning, and no need to test for a specific temperature like traditional candy making requires. As long as the mixture gets its full chilling time, the result is consistent nearly every time.
Serving and Storage Tips
These candies are best served cold, straight from the refrigerator, since chilling keeps their shape firm and their texture pleasantly dense. For parties or gift boxes, arrange them in small paper liners inside a tin or container, which also makes them easy to transport without losing their shape.
For storage, keep the finished candies in an airtight container in the refrigerator, where they typically stay fresh for five to seven days. If you want to keep them longer, they also freeze well. Place them in a single layer on a tray to freeze solid first, then transfer them to a freezer safe bag or container for up to two months. Let them thaw in the refrigerator for about twenty minutes before serving.
Frequently Asked Questions
Can I use homemade whipped cream instead of whipped topping? Homemade whipped cream is softer and less stable than store bought whipped topping, so it will not hold its shape as well once mixed with the pudding powder. If you want to try it, whip the cream to very stiff peaks first and expect a softer final texture.
Why is my candy mixture too sticky to roll? This usually means the mixture has not chilled long enough. Return the bowl to the refrigerator for another thirty minutes to an hour, or place it in the freezer for ten minutes for a quicker fix.
Can I make this recipe sugar free? Yes. Sugar free instant pudding mix and a light coating like unsweetened cocoa powder or a sugar free powdered sweetener can be used to make a lower sugar version without changing the method.
How long does this candy last outside the refrigerator? Because the base is made from whipped topping, it should not sit out for more than about two hours at room temperature. For serving at parties, keep the tray chilled or bring it out closer to serving time.
Can kids help make this recipe? Absolutely. The lack of heat or sharp tools makes this one of the safer recipes for kids to help with, especially the mixing, scooping, and coating steps.
What is the best coating if I don’t like powdered sugar? Crushed graham crackers, finely crushed cookies, cocoa powder, and shredded coconut are all excellent alternatives that add flavor along with a non sticky finish.
Whether you are looking for a quick treat to bring to a potluck or a simple project to do with kids on a rainy afternoon, the 3 ingredient cool whip candy recipe delivers a satisfying result with very little effort. With just a tub of whipped topping, a box of instant pudding, and a coating of your choice, you can turn a handful of pantry staples into a dessert that looks and tastes far more impressive than the short ingredient list suggests.